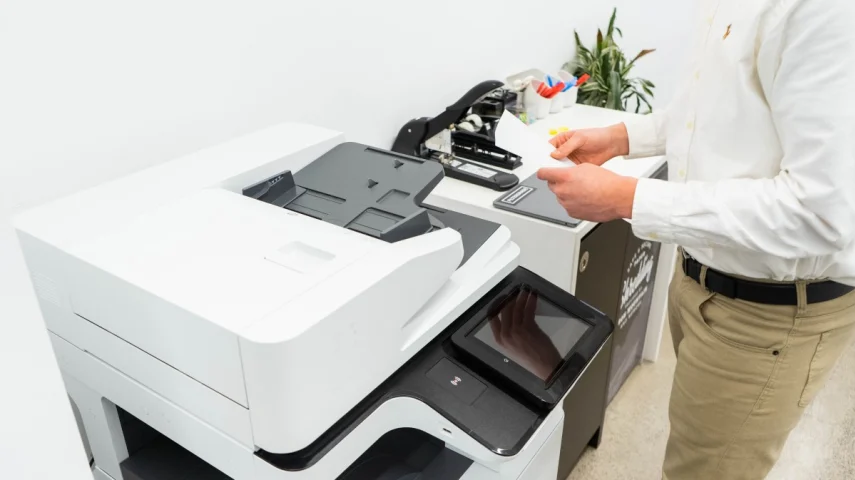
Is your printer stuck in “Offline” mode despite being correctly connected and powered on? While this issue may seem related to the printer itself, it could actually be caused by your computer’s security software, like antivirus programs or firewalls, which may inadvertently block the connection.
In this guide, we’ll explore how security settings can interfere with printer communication and offer simple, step-by-step solutions to restore functionality — without having to uninstall any software or drivers.
⚠️ Disclaimer
This article is purely educational and intended for informational purposes only. We are not affiliated with any printer or software brand. For printer-specific troubleshooting or support, please refer to the official website of your printer’s manufacturer. We do not provide software downloads, remote assistance, or technical support.
Why Security Software Might Block Your Printer
Antivirus software and firewalls are designed to protect your computer from potential threats, but sometimes they may mistakenly identify your printer’s network activity as a security risk, especially if the printer is connected via Wi-Fi or Ethernet.
Common Symptoms of This Issue:
-
The printer was working fine but now appears as “Offline” after a system update or security software update.
-
You can access the printer’s IP address through a browser, but printing fails.
-
Printing temporarily works after disabling the firewall or antivirus.
🧪 Step 1: Temporarily Disable Security Software (For Testing)
Note: This step is for testing purposes only. Make sure to re-enable your security software immediately after testing.
A. Disable Windows Defender Firewall:
-
Open Start > Settings > Privacy & Security (or Update & Security).
-
Go to Windows Security > Firewall & Network Protection.
-
Select your current network (Private or Public).
-
Turn Microsoft Defender Firewall off.
-
Try printing a document to see if it resolves the issue.
-
Re-enable the firewall immediately after testing.
B. Disable Third-Party Antivirus or Firewall:
-
Right-click the antivirus icon in your system tray.
-
Select an option to pause or temporarily disable protection (e.g., “Pause Protection”).
-
Try printing a document.
-
Re-enable protection after testing.
🔧 Step 2: Add a Firewall Exception in Windows
If disabling the firewall allowed printing, you can set up a permanent exception to avoid future issues:
-
Go to Start > Settings > Windows Security > Firewall & Network Protection.
-
Click Allow an app through firewall.
-
Click Change settings.
-
Find your printer software in the list and check both Private and Public network boxes.
-
If your printer software is missing, click Allow another app > Browse, and select your printer’s main application.
-
Save the changes and restart your computer.
🔐 Step 3: Configure Exceptions in Third-Party Security Software
If you’re using third-party antivirus or firewall software, follow these steps:
-
Open your security application and go to the Firewall, Network Protection, or Exceptions section.
-
Add your printer’s IP address to the allow list.
-
Allow access to printer-related applications (such as print monitor or spooler).
-
If needed, manually allow these common printer ports:
-
TCP 9100 (Raw printing)
-
TCP 631 (IPP)
-
TCP 515 (LPD)
-
UDP 161/162 (SNMP)
-
-
Consult your printer’s manual or website for specific port information.
🏠 Step 4: Set Network Profile to “Private”
To ensure smoother device communication, make sure your computer recognizes your network as Private (for home or office use) rather than Public:
-
Go to Start > Settings > Network & Internet.
-
Click on Wi-Fi or Ethernet.
-
Select your current network.
-
Set the Network profile to Private.
✅ Final Thoughts
While security software plays a crucial role in protecting your system, it can sometimes interfere with your printer’s functionality. By performing a simple test and adjusting your firewall settings, you can often resolve the “Offline” issue and restore your printer’s functionality without the need for reinstalling drivers or software.